Tuesday 30 December 2014

Christmas Presents

Happy Holidays everyone!


It has been a year full of ups and downs, so Christmas was something I was definitely looking forward to! Now I would love to show you my Christmas haul!!


Just some of my favourite presents this year! note: The discontinued Starburst jellybeans my bf had shipped to AU!

My fab shiny hedgehog! (Morgan and Finch) - From my bf's mum

A Christmas scented Glasshouse candle- so pretty I will display it all year round! won this in a game of  secret Santa

A classic pair of studs! from my beautiful Sister! just what I needed!


And... what would Christmas be without some presents to myself!

A sexy Acrylic candy jar from Daiso ($2.80) I will be using this to hold cotton balls in the bathroom

Some small plate/bowls and wooden spoons from Daiso

I love the Asian blue on these bowls. Perfect for dips and condiments! Find these beauties in my future food posts!


Now of course Christmas is not just about presents. It is about spending time with your loved ones! I spent my Christmas at a farm with my bf and my family eating our days away!


What did you guys get or do for Christmas??


Enjoy


xx Mel

Wednesday 17 December 2014

My Gnocchi Secret

Hi all,

It’s been a while ! I was meant to post this on Monday however I was glued to my television for the past few days over the tragic siege that happened at the Lindt cafĂ© in Sydney. I feel it is only right to start my post today sending love to the families and friends of Katrina Dawson and Tori Johnson. It’s a sad day when lives a lost in such a terrifying way and I hope the best for all their loved ones. We should also remember that this was the work of an individual and we should not blame a whole community for this incident. My best friends are multicultural with different religions and girls… #illridewithyou to the moon and back.


Now to my post, Carb-a-phobes you might want to tune out for this one…

Last week I made Gnocchi… yes the infamous gnocchi , the one where if you get the balance of potato to flour incorrect you end up with a boiling pot of starch.

I feel like I have found a fool proof way of making gnocchi. It may have stemmed from my laziness but hey it all worked out in the end!


What’s my secret? Keep scrolling and find out. 


These little lumps of carby goodness are so easy  and quick to make! No resting or serious kneading! I love it! They are melt in your mouth good, have a pillowy softness yet also have a delicate spring to them.

So how is mine foolproof? MICROWAVE your potatoes to cook them! (I told you my method stemmed from laziness) the microwave in my opinion sucks just enough moisture out of the potatoes so that they don't fall apart when you boil them. 


What you need:

2 medium potatoes or 3 smaller potatoes
¾ cups of plain flour
1 tablespoon of macadamia oil
½ teaspoon of salt and pepper
¼ teaspoon of dried dill


What to do:

1. Place your potatoes in a microwave proof dish , fill halfway with hot water and pierce your potatoes multiple times with a knife.

2. Microwave for 12-15 minutes depending on your microwave (Mine is 1000watts)

3. Once the potato has cooked and cooled peel the skin , it should come off easily

4. Mash the potato with a fork and make sure there are no lumps!

5. Add in the salt, pepper, dill and macadamia oil to the potato mash.

6. Now incorporate the flour into the potato mash mixture until it has all combined together and can form a soft doughy ball

7. If it feels too sticky and you can’t roll it into a ball without it all sticking to your fingers then simply add a touch more flour. Don’t overdo the flour or you will end up with rubber pellets

8. Now separate the dough into 3 parts so it is easy to work with , roll the first part into a skinny snake around 1.5 cm in thickness

9. Get a knife and slice pieces off the snake around 1cm thick and place onto a floured surface.

10. Repeat with the other portions of dough

11. Now comes the fun part! To create a little hollow and lines for the sauce to nestle itself into get a fork and press your thumb into a piece of dough and roll it down the fork

12.Your thumb will create the hollow and the the fork will create the lines.

13. Repeat until all the lumps are hollowed and lined

14. To cook, add salt to a pot of boiling water and drop these babies in, when they float to the surface count to ten and scoop them out.

15. Done! How easy was that! You will never turn to store bought ever again!


How do you like your gnocchi? I like mine with pancetta,sage, garlic and butter.


Enjoy!


Xx Mel.


Sunday 7 December 2014

What A Cracker!

I love cheese. One of my favorite thing in life is when my boyfriends parents bring out a platter of expensive cheeses for "Happy Hour" before dinner . Yes there is alcohol involved but the cheese is the best part.

The platter of cheese is then followed by the everlasting debate on which cracker best suits the cheeses... So I have decided to make my own cracker and end this long standing feud of which cracker reigns supreme.

Here it is!!

My cracker with blue cheese, toasted walnuts and a drizzle of honey


This cracker recipe is totally versatile and easy to experiment with.

What you need (for Mel's Version):

1 1/2 cups of plain flour
1/2 - 1 teaspoon of pink salt (depends on how salty you like your crackers)
1 teaspoon of sugar
1 tablespoon of nigella seeds
1 tablespoon of black sesame seeds
1 tablespoon of white sesame seeds
1 tablespoon of flaxseeds  (basically whatever seeds you have!)
1/2 cup of water
1 tablespoon of garlic infused olive oil
1 table spoon of macadamia oil


What to do:

1. Preheat the oven to 180 degrees
2. Mix all the dry ingredients together
3. Mix wet ingredients into the dry ingredients and knead into a ball
4. Roll the dough ball out until it is about 2-3mm's thick. the thinner the better (make sure you flour your surface well)
5. Use a pizza cutter and cut into desired rectangle shapes, or if you feel fancy use a cookie cutter
6. Spread the pieces of dough out onto a baking paper lined baking tray and prick each one with a fork- this stops it from puffing up too much
7. Bake for about 10-15 minutes depending on how well it browns,
8. When it is ready store in an airtight container once it has cooled and enjoy with your cheeses!!

Also great to have with dips or make large pieces and smother with cream cheese and smoked salmon for a yummy lunch! the combinations are endless!


Now... I feel I must share my dream cheese plate... at the moment I have a slate one which looks amazing.. but has one little problem. If I make my sticky honey walnuts when you go to pluck them off the slate it also takes a bit of slate with it... meaning we are slowly eating the slate cheese plate.


White marble cheese plate with a glass dome (Davis and Waddell)

S&P wooden board with glass dome 

If I could take the white marble base and combine it with the conical dome then I would have my dream cheese plate. I would avoid a wooden base as wood tends to take up the smell of anything it touches no matter how well it is treated... so hold the aged blue cheese!


My favourite cheese knives at the moment: (I am forever changing my mind!)


Laguiole in black or white. Love the old french look.

Bugatti in white or black. Love the elegant curves. 
* All of the above from Peter of Kensington


One day I will own my dream cheese set... but for now... a girl can dream :)


Enjoy

xx Mel


Monday 1 December 2014

Homemade Butter & Lamp Love

I have been a little slow with the posts in the past few days, however hear me out... My sister had recently purchased a new place and we have been in hardcore renovation mode. Needless to say my back and arms will never be the same again. 

So now onto the important things...

Today while I was working 'hard' at my job I flicked through my TV and came across Jamie Oliver making butter! And I know when we think of homemade butter in this day and age we think of an adorable old lady churning away with a wooden barrel and fresh milk. 

Everyone... I would like to present the most amazing thing to everyone.... Jamie's butter recipe is the most amazing thing I have discovered this year. I tweaked it  a little to make it more economically friendly Never again will you open the fridge to no butter for your toast!

The taste which I was skeptical about at first is actually delicious and buttery with an amazing rich yet fresh flavour. 


This recipe is quick and easy... forget the supermarket and what better excuse for a cute new butter dish. 

What you need (adapted from Jamie's recipe):

A food Processor
1 Tub 300g of Double cream
1 Carton 300g of Pure cream (Jamie's recipe calls for 2 tubs of Double cream but that's a little pricey for me)
1/2 tsp Pink salt (optional for salted butter)

What to do:

1. Pour all the ingredients and process on high until you see the ingredients clumping and turning into beautiful yellow butter (about 5 mins)
2. Place the newly made butter into a fine sieve and squish out the liquid. 
3. Rip the head off a baguette and smear with an obscene amount of butter. 
4. Enjoy and tell me how much you loved it!


Now while you are enjoying your new batch of home made butter feast your eyes on my new lamp!!

My sexy new lamp ! love love love it!

My bedside table- Lamp, jewelry tray for colour, candle for smell and a book mental stimulation. Tara Moss... love it


Enjoy


xx Mel 

Monday 24 November 2014

My Perfect Cake Stand + A Bargain

Recently I have been craving chocolate cake and being just a tad impulsive I of course can't just go out and buy a slice like normal people would. I reach into my overstocked pantry, grab some ingredients and bake one.

I normally use my Nigella cake stand however while moving my cake stand with a giant chocolate cake on top I did a little wobble and almost lost the cake and the cake stand! This was when I realised it was probably time to invest in a cake stand that wouldn't smash into pieces if I dropped it.

Okay lets me honest here.. that's the dramatic story I spin to my partner .. in reality I was looking up cake stands came across this gorgeous bubble style cake stand and just had to have it.


Beautiful Nel Lusso Cake stand 


Treats to come to go on my new cake stand!

I also scored an amazing bargain that I wanted to share!
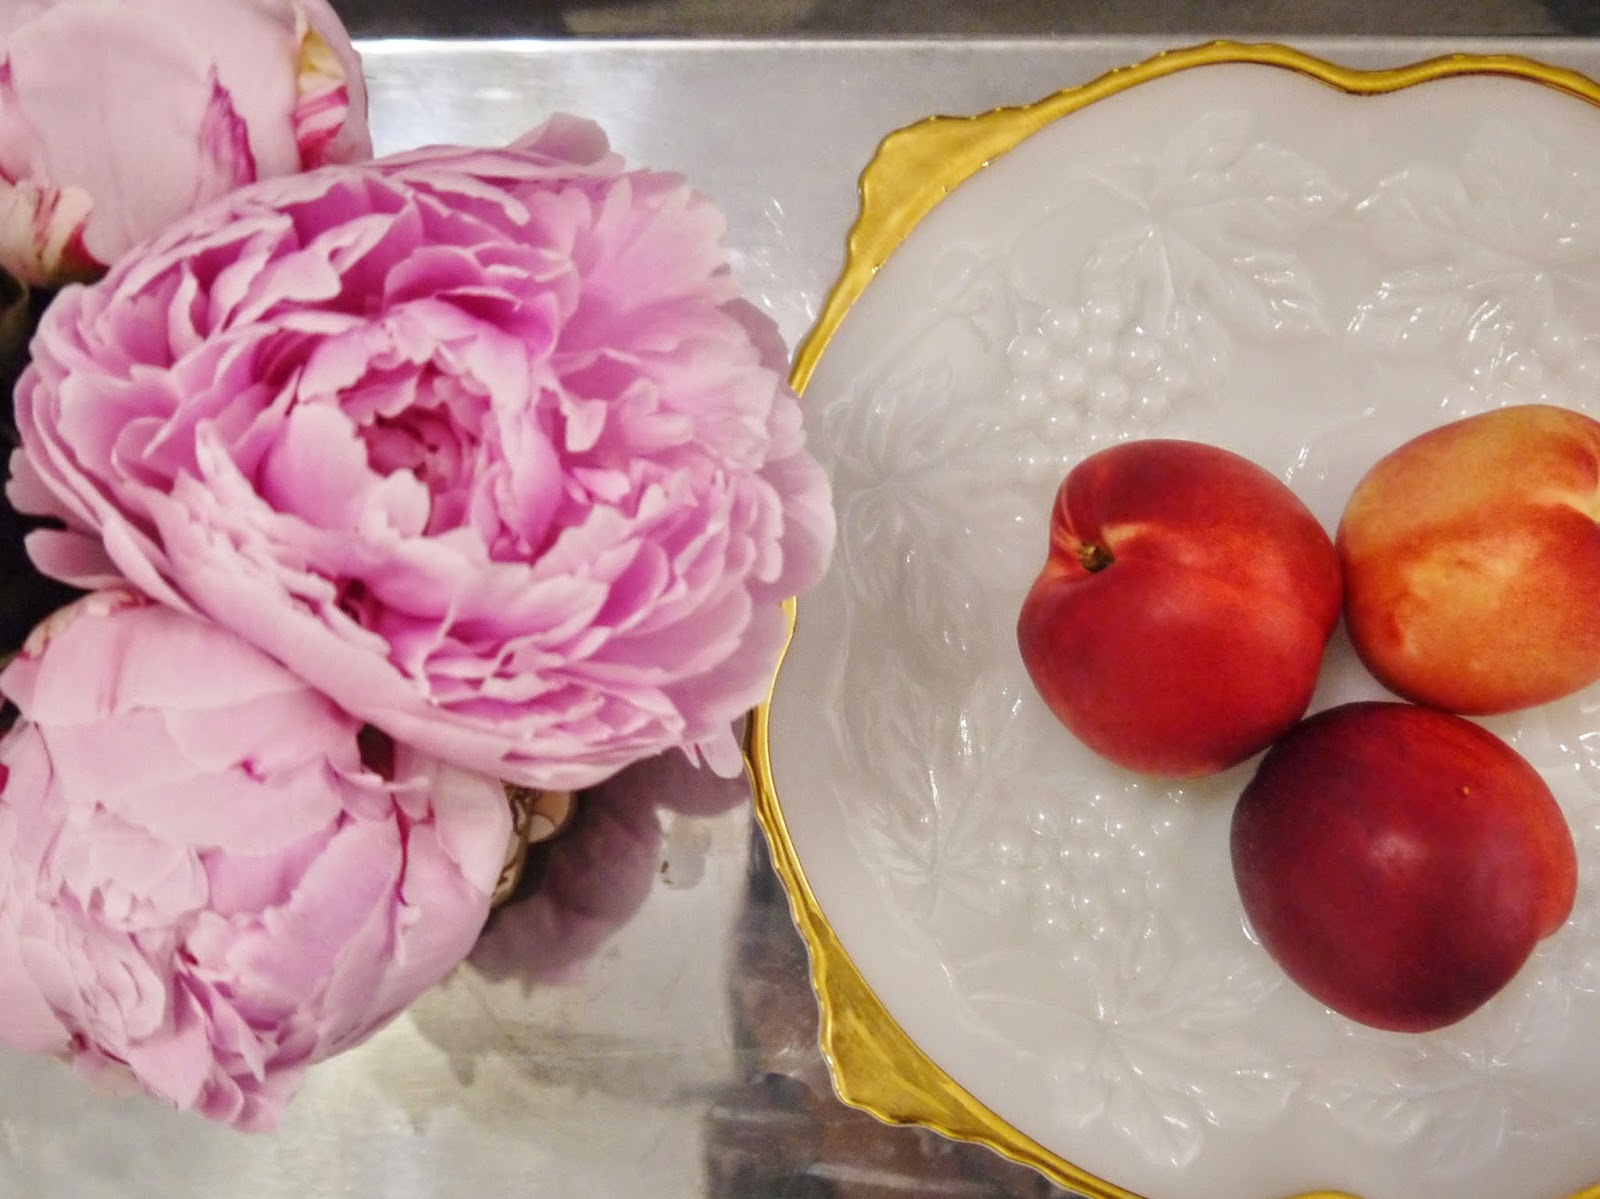
It's a Milk glass dish that I got for $4 !

Found this baby at a second hand shop stuffed in the corner of a shelf  with filled goodies


That was how I displayed my new milk glass bargain. How would you display yours?


xx Mel

Thursday 20 November 2014

Knob Lid Jars and Tea

I love Tea but what I love more is storing my tea in beautiful knobbed lid glass jars. I also bought beautiful but cheap tapas tasting spoons which I use as Tea Scoops.

The knob lid jars I bought from a candle making wholesaler making them incredibly cheap and affordable.

Lychee black tea, Jasmine tea and Sencha


Sencha tea (green tea)


Something else I like to put in my knob lid jars are spices and colourful pasta. It adds a touch of colour and elegance to things that would normally be boring. Life is too short for boring !


Enjoy


xx Mel

Monday 17 November 2014

The Cinderella Bowl

I found myself recently at a small Thai restaurant staring at this gorgeous little bowl containing the rice for the table. I just had to take a photo ... I even lifted the bowl up to have a look at the bottom to see if there were any sign of where this beautiful thing came from. Unfortunately for me... there was no brand name to be found :( . Don't ask me why I didn't ask the waitress... I have been asking myself that for a while.

I feel like I am having a Cinderella moment right now ... but here goes. If anyone knows where this bowl was purchased please tell me because I am in love!

The mysterious blue bowl from the Thai restaurant 


Here are some other similar style bowls I have had my eye on. If the first two look familiar it may be because you have seen them in teacup form on my blog. I just can't decide if I should commit to buying something that is the same style or if I should try and find my mystery bowl that I am obsessing over?

Benzer - Asian noodle bowl (Victoria's Basement)

Benzer - Asian noodle bowl (Victoria's Basement)

Gorgeous Turkish hand painted bowls from Ebay - To splurge or not to splurge?


Enjoy and please help me find my Cinderella Bowl!


xx Mel

Thursday 13 November 2014

Homemade Homewares

Do you ever find yourself wandering around all day long visiting multiple shops just to find the perfect item for your home? Well can I just say that is my on going relationship with tableware.
I have been living at my "new" place for a little over a year now and I have been looking for the perfect placemats since BCB (Before committing to buy).
I mean sure I could easily pay a fortune to buy an amazing set of placemats but who has the money for that ?
This was how Martha Stewart the Second was born... I invested in a sexy little sewing machine... which of course was heavily discounted just the way I like it and I have been sewing ever since.

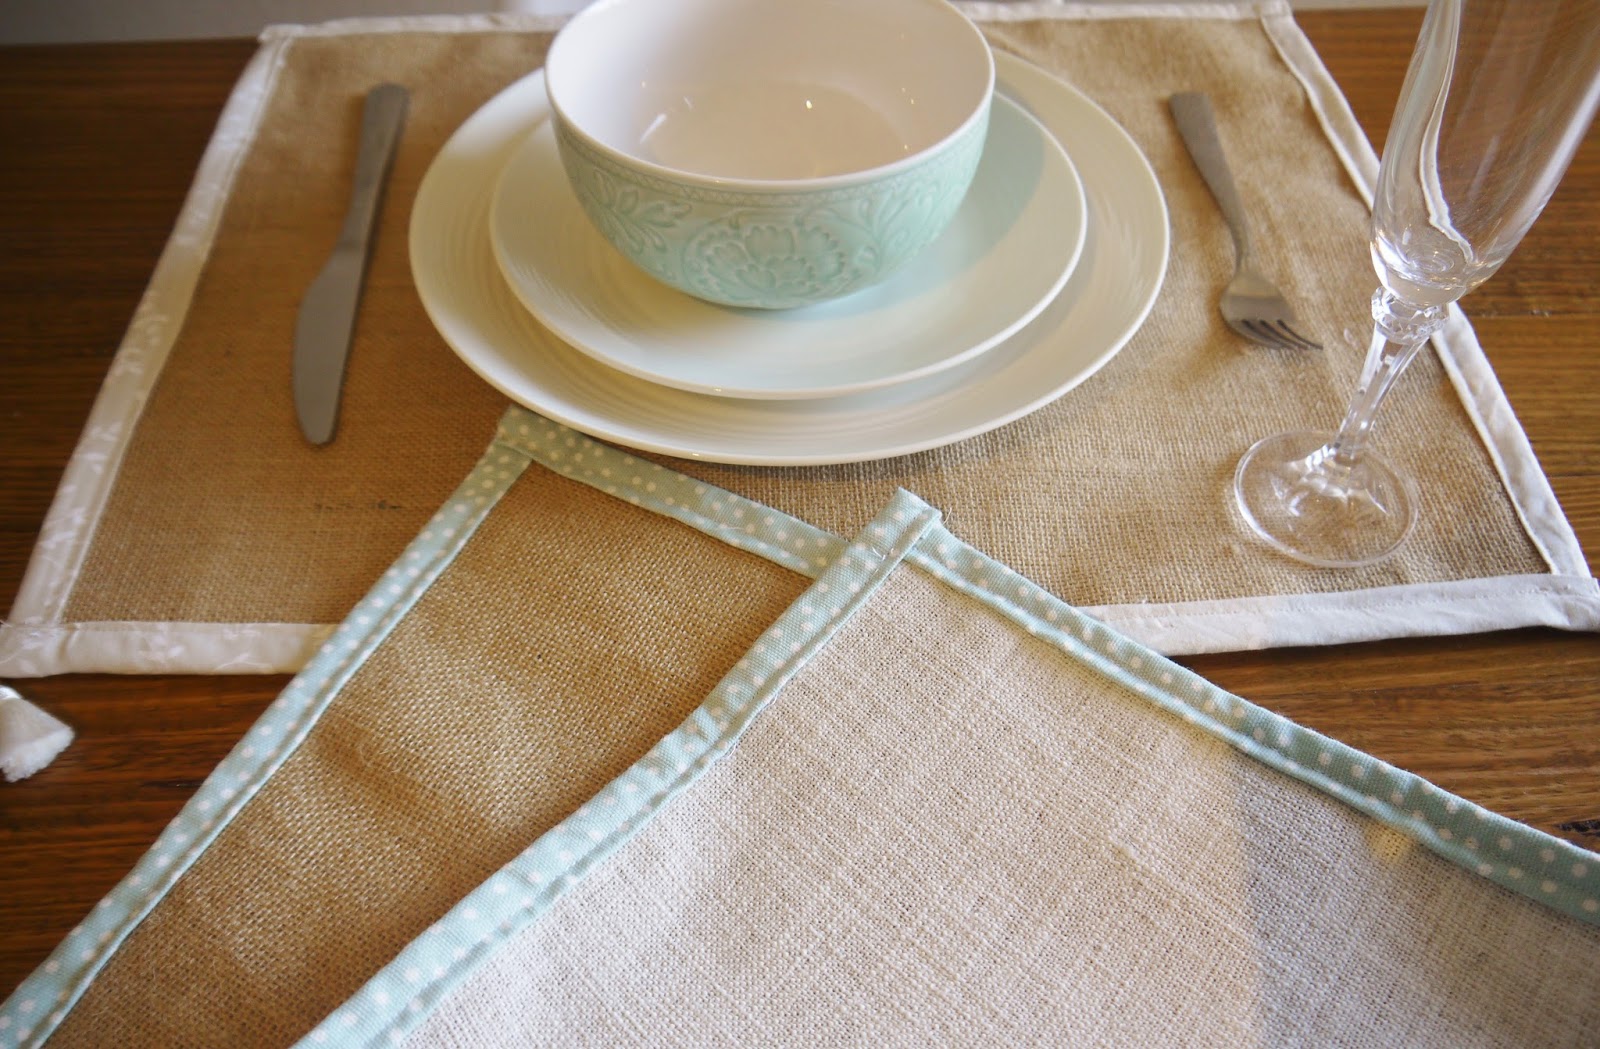
Here are my Homemade Placemats that fit perfectly in my home and as a plus I made them double sided to suit any occasion! The light colour for an elegant setting or flip them over for the more rustic darker colour.

My placemat with the whole set up

The detailing on the trim and the reverse side colour

The other trim I used and  you can see the two colours I used for both sides. 

The little baby I did my sewing on. Love this!

Enjoy


xx Mel

Monday 10 November 2014

A Dollar Bargain Jewellery Stand

I promised a jewellery stand when I wrote about the dollar bargain and now I am delivering!

When I first said I would turn the $1 vase into a jewellery stand I thought to myself... how on earth am I going to do that? .... I looked at my jewellery and sitting in the mass of tangled chains I spotted my gold leaf necklace and it hit me! Of course a Jewellery Tree! I wanted to go for a quirky yet whimsical look, something for all my delicate jewellery.


So here it is


What I used :

Willow Sticks stained dark (caution some willow do not bend)
Gold florist wire to wrap around
White natural stones on the bottom 
My $1 vase

All can be purchased at your local bargain store or florist supply shop.

My tree looks a little empty at the moment..I guess this is my excuse to get more jewellery :)


Enjoy 


xx Mel. 
Saturday 8 November 2014

A Breakfast Bake

I love a good breakfast, give me some bacon and eggs slopped on some bread and I'll be happy. This morning however I thought to myself... I am going to be fancy and make something that not only taste amazing but looks good too! 

I Googled breakfast Ideas and came across a sort of breakfast baked egg quiche concoction picture. Me being the "adventurist" *cough lazy* person I am I decided to wing it and make up my own recipe for it. 


Now for the reveal. Drum roll please...


Ignore the slice of Turkish bread underneath, I was serving this to my partner and his friend and you need to give men carbs for breakfast unless you want your man transformed into a hungry caveman by mid morning. 

Mel's Breakfast Bake

You will need ( subject to interpretation-)  makes 6:

6 strips of stripey Bacon 
6 eggs
1 kransky thinly sliced
1 tablespoon of peas (optional)
1 tablespoon of baked beans (optional)
Chives
Grated cheese
salt and pepper 
1 muffin tray

What to do: 

1. Preheat your oven to 180 degrees. 
2. Line each muffin hole with a strip of bacon and slices of kransky
3. Place the lined muffin tray in the oven and bake for around 5- 8 minutes 
4. Saute the peas, baked beans and any left over kransky in a pan until the kranksy is golden brown 
5.  Add some salt and pepper to the pea mixture. 
6. Spoon the pea mixture into the muffin holes once they are out of the oven. 
7. Crack an egg into each of the muffin holes (do not panic if it looks like it will overflow, the egg will shrink once cooked)
8. Bake in the oven for around 5-10 minutes (if it jiggles when you shake it, it isn't ready)
9. Grate some cheese and sprinkle the salt, pepper and chives on top. 
10. Remove from the muffin tins carefully with a sharp knife and serve on a pretty plate


Enjoy! 


xx Mel. 


Friday 7 November 2014

A Dollar Bargain

Everybody loves a bargain, I know I do! Bargains have a miraculous way of waking me from the laziest of moods, just like how sleeping beauty awoke from her deep sleep with a kiss from the Prince. My Prince just so happens to be a bargain :)

So over the weekend I went bargain hunting and I found this little beauty!

How much did I get it for ?? ONE DOLLAR... yes one dollar! what does a dollar normally buy in this day and age? A packet of plastic forks from Target, a frozen coke from Hungry Jacks or small fries from McDonald's...Not much if you ask me!

Bubble Bargain Vase with my cook book collection


Bubble Vase


I am planning on turning this little beauty into a jewellery stand. Keep an eye on my next few blogs to see the results!


xx Mel. 

Monday 3 November 2014

The Pretty Peony

I just love Peonies... I mean who wouldn't they're luscious and elegant with a hint of sex appeal to them. I would dare go on the record to say they are my favourite flowers of all time!

Peonies in Australia only bloom for a few short seasons (October- November) :( But!.... Being the lucky girl I am my amazing partner grabbed me a bunch today before they withered away.


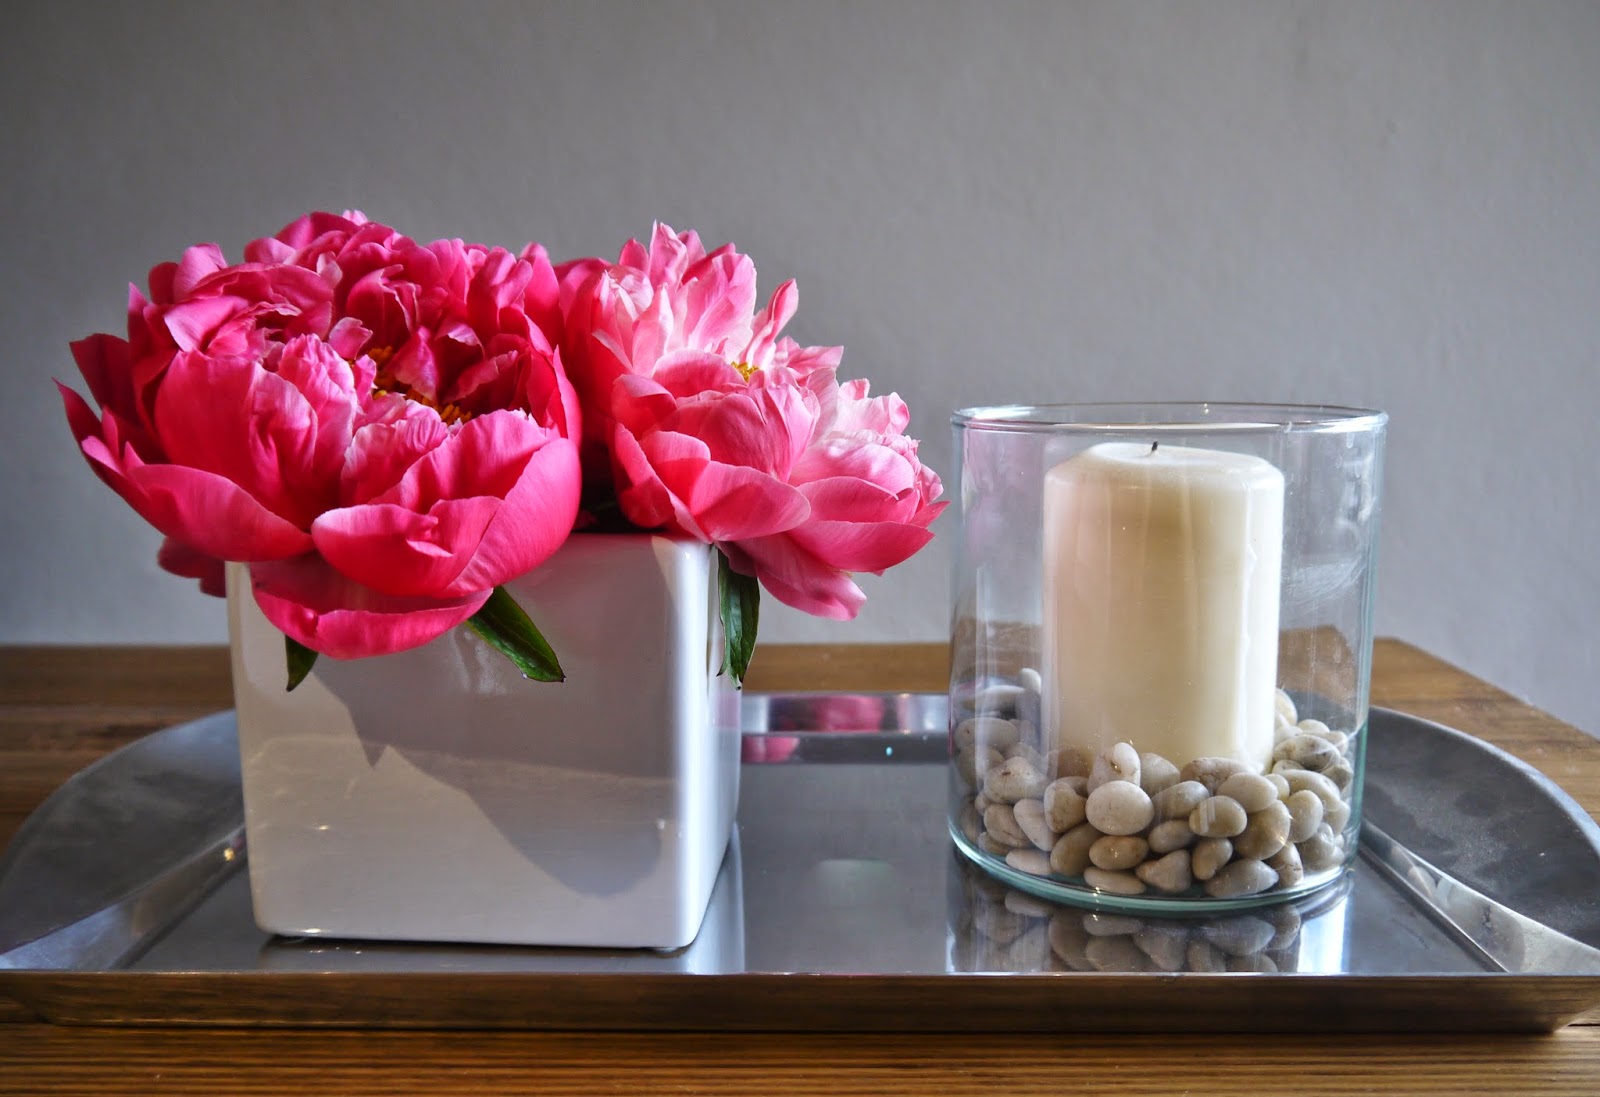
Peonies in a simple white vase

Peonies with my giant vanilla candle 

There is no reason to let Peonies steal the show on their own. I like to place mine on my Vera Wang tray ( purchased by my partner's lovely mother) with a candle piece. To replicate my candle piece just head into Ikea grab a glass cylinder set, giant vanilla candles and pebbles from a bargain store!

Enjoy :)


xx Mel


Sunday 2 November 2014

Best One Cup Brownie

I am a cravings girl, chocolate, hot chips, pasta, fairy floss... you name it and I've got it.

When I crave chocolate , it's usually in the form of a brownie. I just have one problem brownies take about 60 minutes to make! I am too impatient for that. luckily I have an amazing recipe for THE best 60 second brownie! Moist, slightly chewy with a wicked chocolate flavour.

Oh and of course I just had to use my beautiful Asian inspired Benzer teacups.

Asian Benzer Teacups+ Vera Wang Silver Tray

One Cup/Mug Brownie

This Brownie will take you about a minute to prepare and a minute in the microwave....Can you think of anything better?

Mel's Amazing One cup brownie

You will need:
2 tablespoons of Butter (unsalted)
2 tablespoons of milk (full fat please)
2 tablespoons of cocoa powder
4 tablespoons of white sugar
3 tablespoons of plain flour
1 tablespoon of self raising flour
A pinch of salt
1 x cup/mug (try and find one that is at least 250ml)

What to do :

1. Add the Butter and Milk in the mug and microwave for around 30seconds
2. Add the cocoa powder to the mug and mix well
3. Add the sugar, flour, SF flour and salt to the mug and mix well
4. Optional - you can add whatever you like to this brownie ( I like to add a little block of chocolate for an extra gooey center :). alternatively you can add salted peanuts, marshmallows.. anything! )
5. Pop it into the microwave for 60 seconds


 Enjoy and be careful because it will be hot !


xx Mel.


Saturday 1 November 2014

My First Post …& My Love.


I have a little confession to make ... I am a slight homeware addict. Nothing gets my blood flowing like an elegant teacup or a sexy cushion. Don’t get me wrong I understand that it is completely materialistic and impractical. But life is so short, if you love it then why not?

Everyone meet my current love interest…

Morgan and Finch Polka Dot Teacup


Beautiful isn't it? 


Xx Mel.